


To access manual mode commands, go to the menu bar and select Glamourizing → Advanced Mode Functions. You can also go to the Quick menu and select these options on the Glamourizing panel. Below is the picture showing the program window in manual mode:
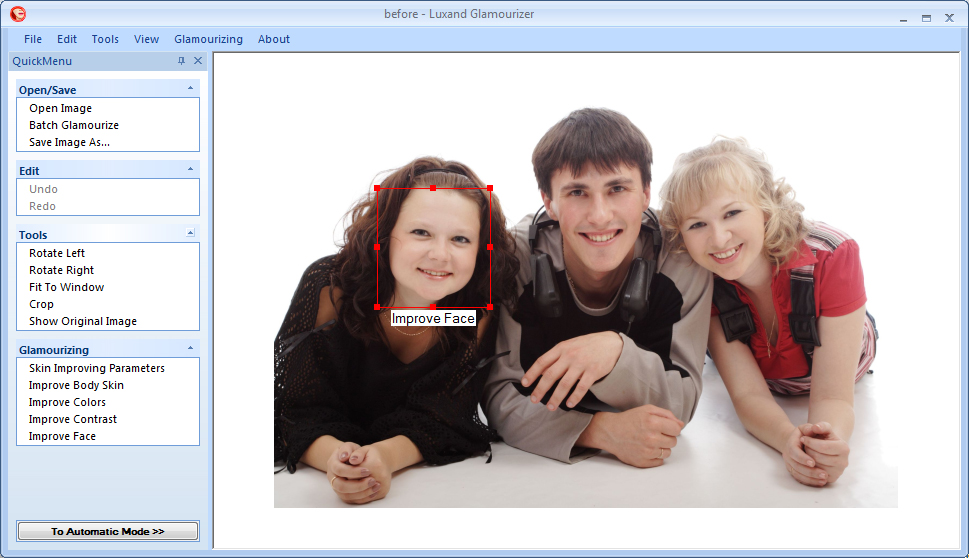
Manual mode options
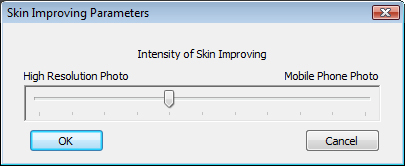
Skin Improving Parameters – This parameter adjusts intensity of a photo. If the quality of a photo is good, the slider should be placed closer to the left end of the scale. If a photo is taken with a mobile phone camera, the slider should be placed closer to the right end.
Improve Body Skin – This parameter improves a photo as a whole, excluding the face area. It also reduces noise.
Improve Colors – The parameter improves colors of a photo to make complexion more natural.
Improve Contrast – The parameter adjusts contrast in a photo automatically.
Improve Face – The parameter improves the face area (Read more information on the topic in Improve Face).
Improve Face
The user can enter the Improve Face mode in three ways:
– double-click the left mouse button in the selected area
– select this parameter on the Glamourizing panel of the Quick menu
– click Improve Face below the red selection rectangle in the window with a photo The program window in the Improve Face mode is shown below:
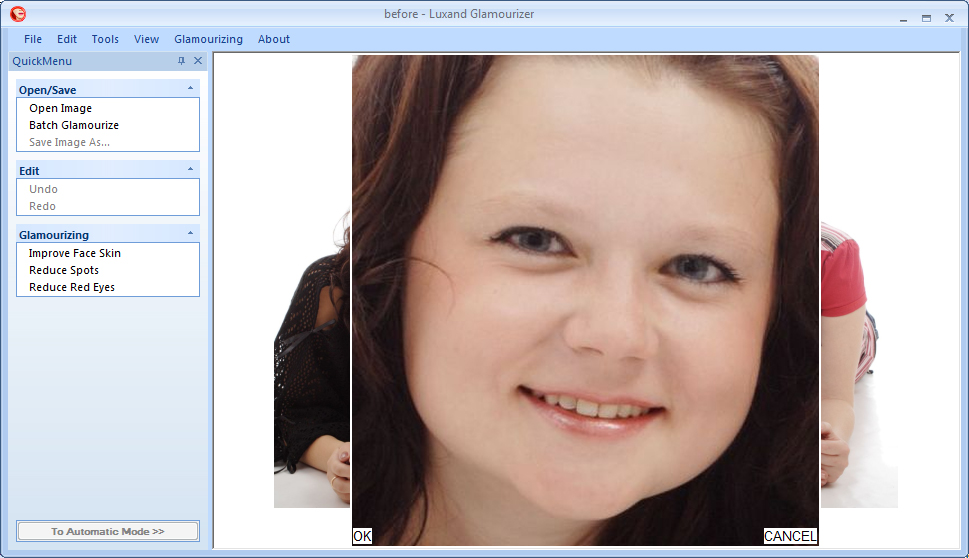
The selected area of the photo is zoomed in and it can be improved using the options below:
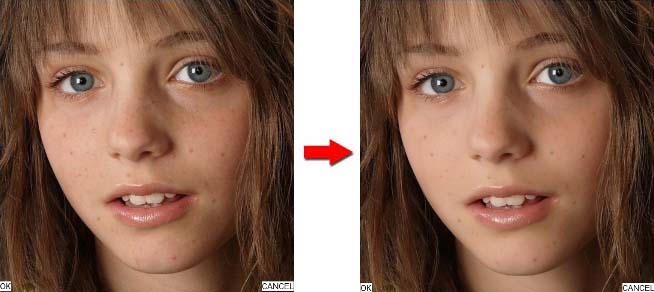
Improve Face Skin – Improve face skin, remove little imperfections:
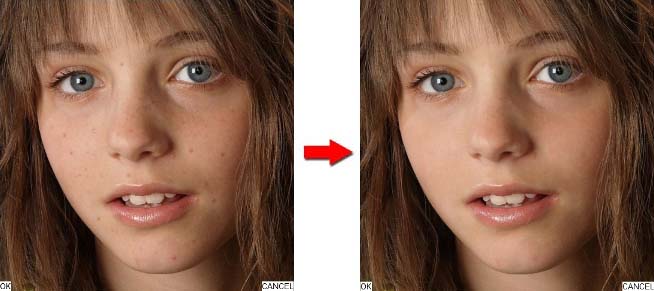
Reduce Spots – Remove more noticeable skin imperfections, such as spots, blemishes, wrinkles:
Reduce Red Eyes – Remove the red-eye:
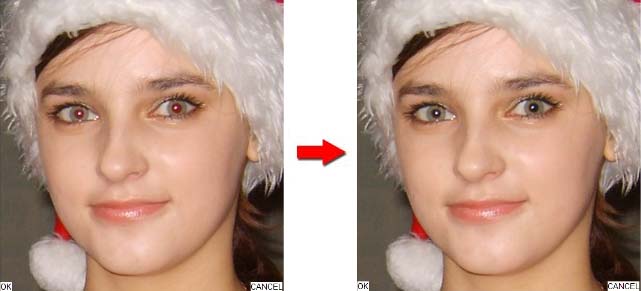
If the Reduce Red Eyes tool fails to remove the red-eye, change proportions of the selection rectangle and try again. To save changes, click OK in the bottom-left corner of the photo or double-click the left mouse button. To return to image editing without saving changes, click CANCEL in the bottom-right corner of the photo.

